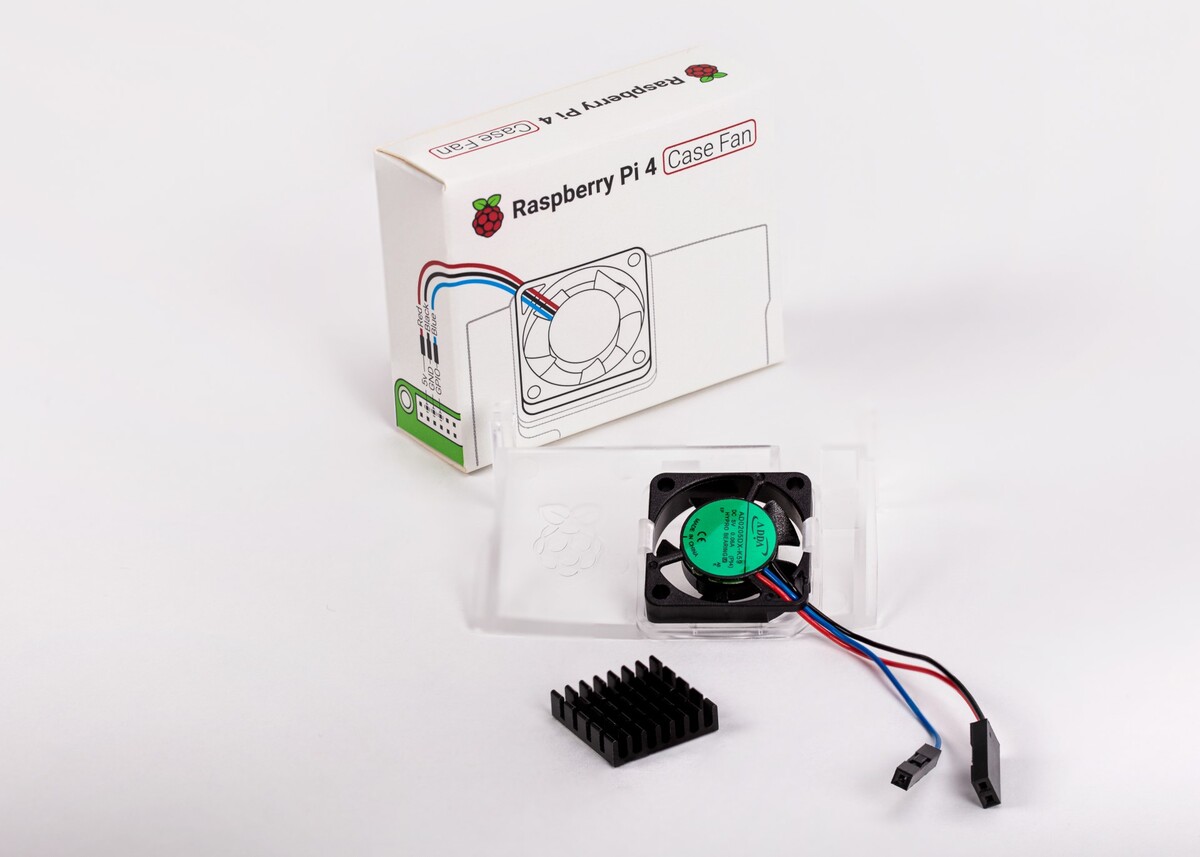
Features:
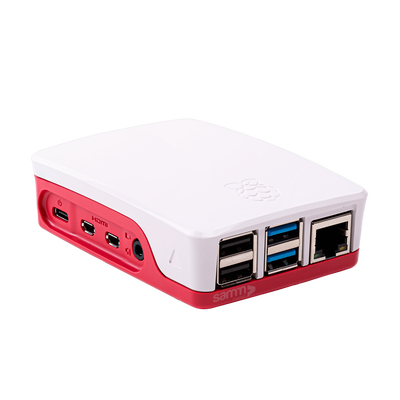
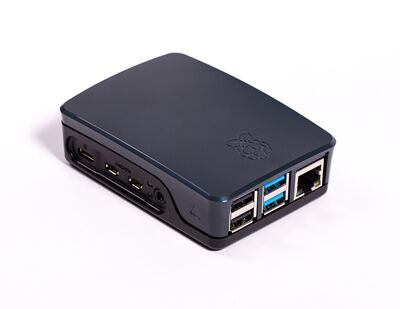
- Fits perfectly onto the Raspberry Pi 4 Licensed Case cover. (Raspberry Pi 4 Licensed Case)
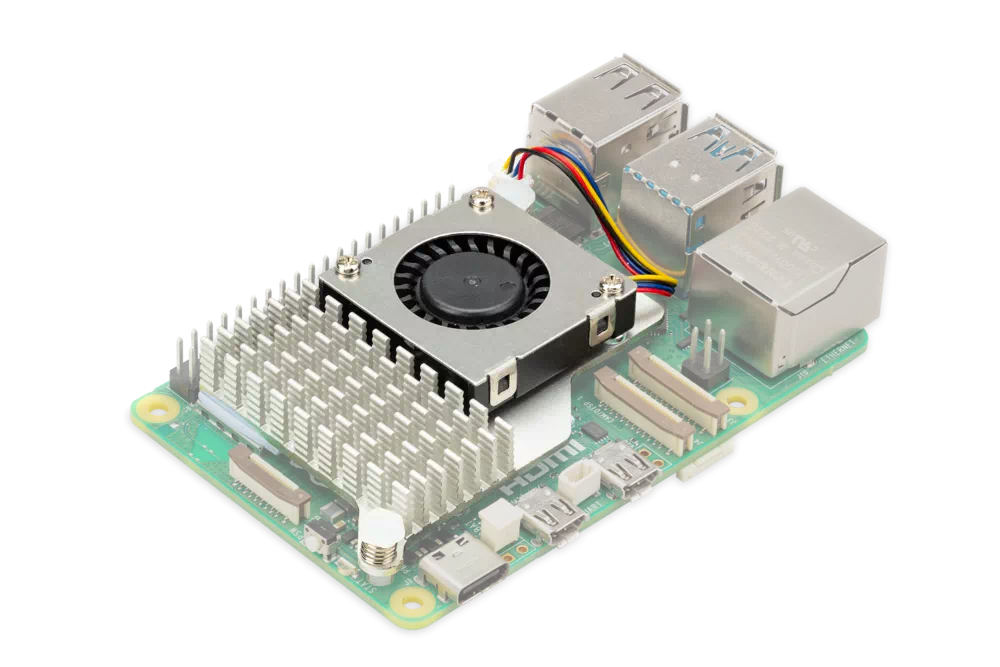
- Temperature-controlled fan provides airflow of up to 1.4CFM over the processor, memory, and power management IC.
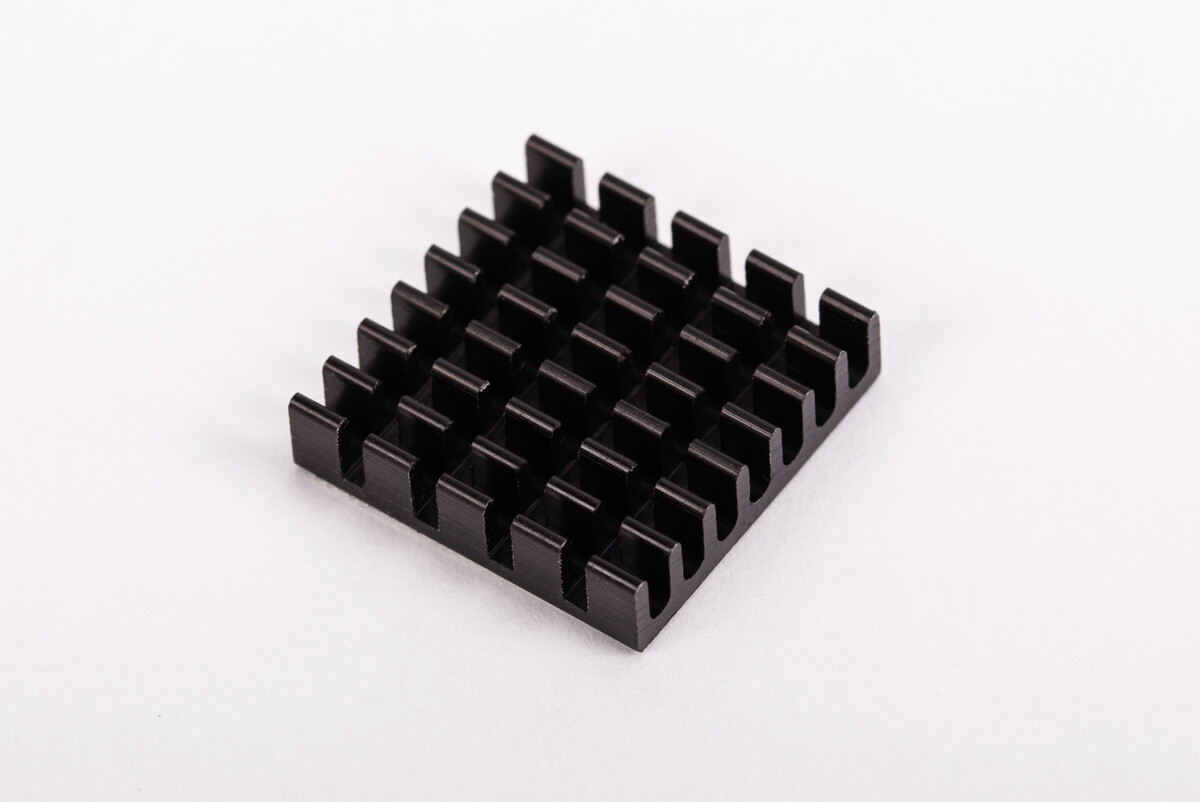
- Self-adhesive padded 18mm × 18mm × 10mm heatsink enhances heat transfer from the processor.
- The product does not include the Raspberry Pi 4 enclosure case.
Getting Started
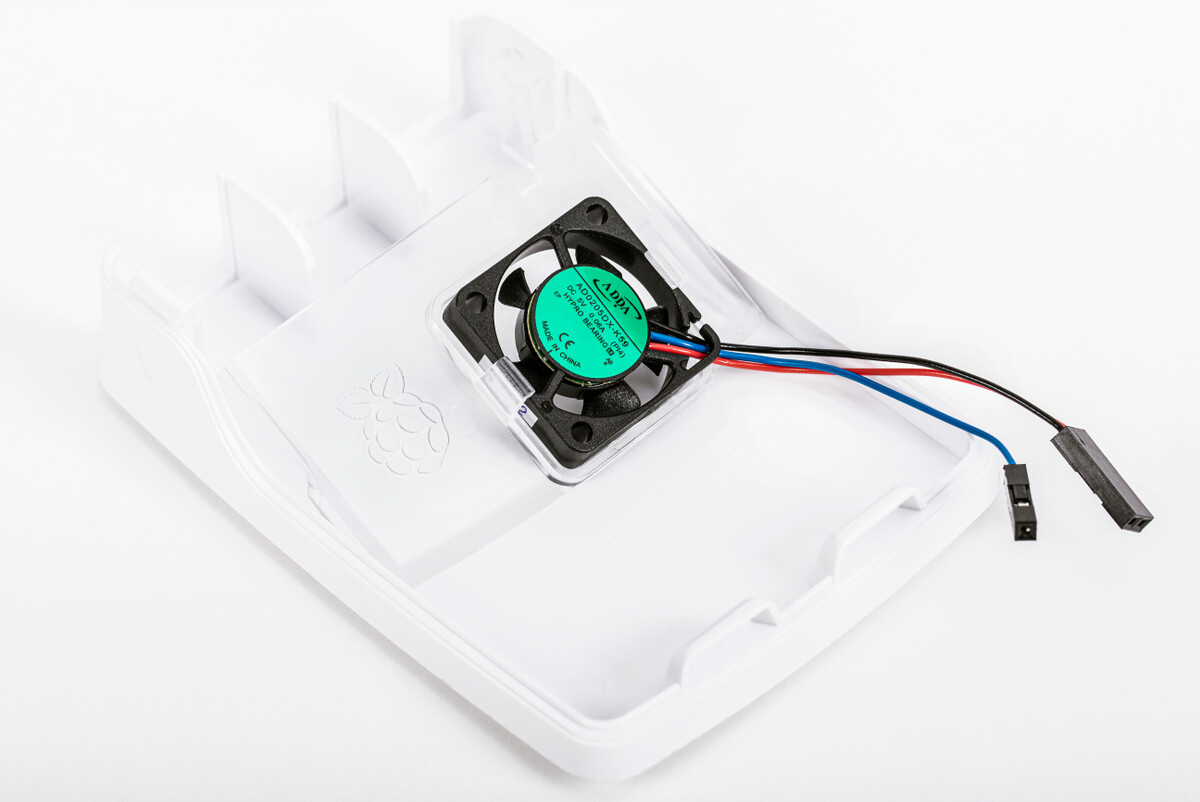
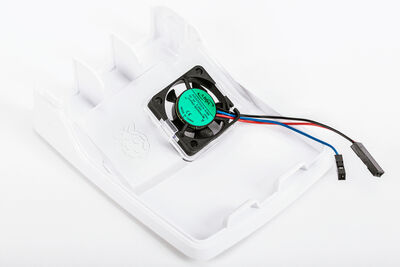
- Attach the fan to your case.
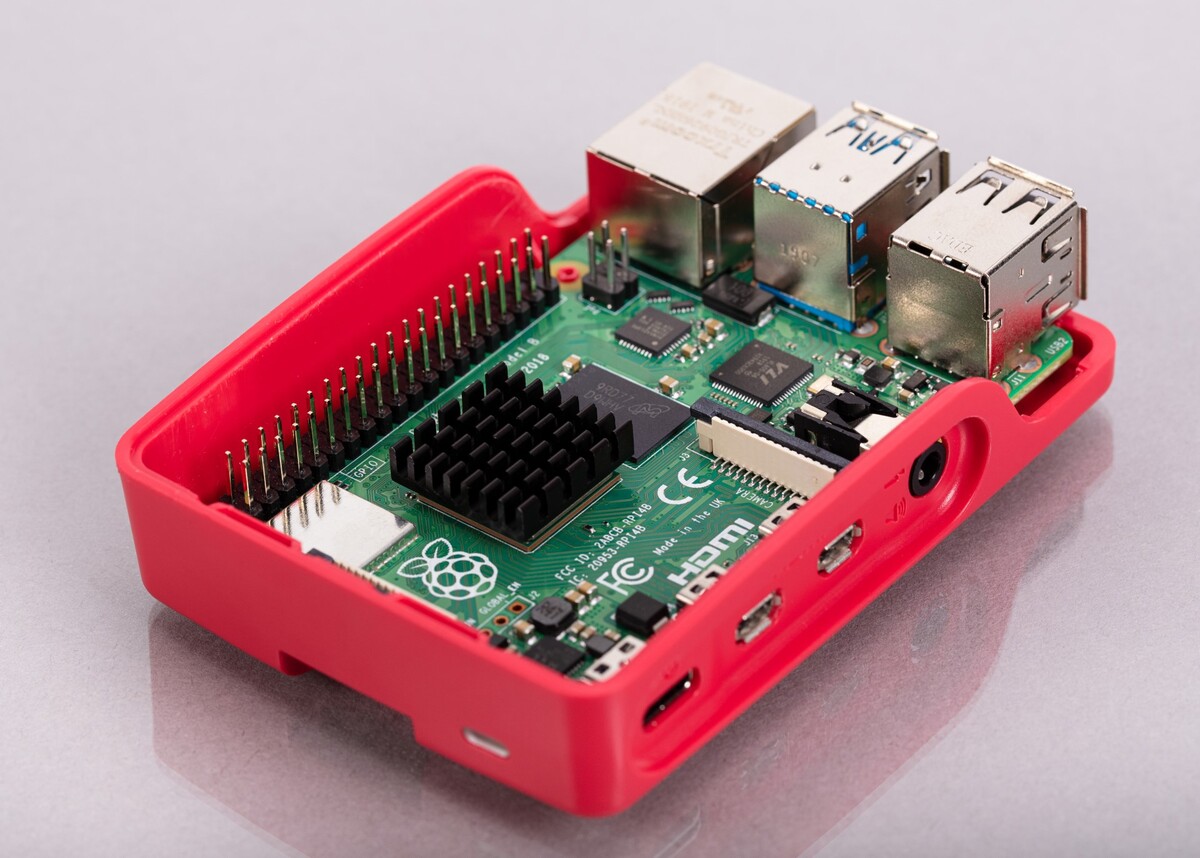
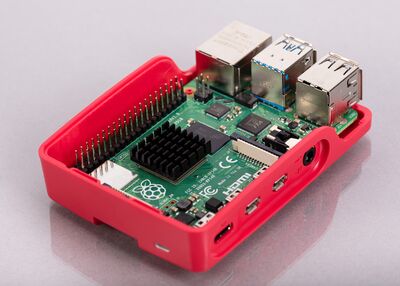
- Remove any SD card, then place your Raspberry Pi into the bottom half (base) of your case. Ensure that you align the mounting holes in the corners with the protrusions in the case.
- Place the fan into the top half (cover) of the case with the green label facing away from the cover. Gently, but firmly, push it in to ensure that the two tabs on the fan housing fit snugly into the tabs on the cover. The slightly curved edge of the housing should be aligned with the bottom side of the cover.
- If you are using the heatsink, peel off the back paper from the adhesive pad on the base of the heatsink, place it in the center of the processor, and press it down gently.
- As shown in the diagram below, connect the three ends of the fan to the GPIO pins on the Raspberry Pi. Ensure that you connect each end to the correct pin.
- Place the cover of the case onto the base.

Fan Usage
After connecting your fan, it will be on by default every time your Raspberry Pi is running. You can configure it to turn on only when your Raspberry Pi reaches a certain temperature.
Using a new release of the Raspberry Pi OS, first update to get the latest changes in the operating system:
-
Open the Terminal by clicking on the Raspberry Pi icon in the top-left corner (Start menu) or by pressing Control + Alt + T on your keyboard.
-
Type sudo apt update and then, after the update finishes, type sudo apt full-upgrade.
Next, open the Raspberry Pi Configuration tool:
-
Click on the Raspberry Pi icon in the top-left corner (Start menu).
-
Select "Preferences" and then choose "Raspberry Pi Configuration."
-
In the Raspberry Pi Configuration window, select the "Performance" tab.
-
Click the "Enabled" next to "Fan."
-
If you've connected your fan as shown earlier, there's no need to change the default 14 for Fan GPIO.
-
Choose the Fan Temperature at which you want your fan to turn on. The default value is 80°C, and it prevents the Raspberry Pi from throttling without a fan under demanding tasks.
Requirements:
- Input Voltage: 5V DC supplied through the 40-pin GPIO header on the Raspberry Pi 4.
- Fan Speed Control: Pulse Width Modulation (PWM) control via a user-selectable GPIO pin.
- Maximum Airflow: 1.4 CFM
- Case Material: Transparent PC
Datasheet